
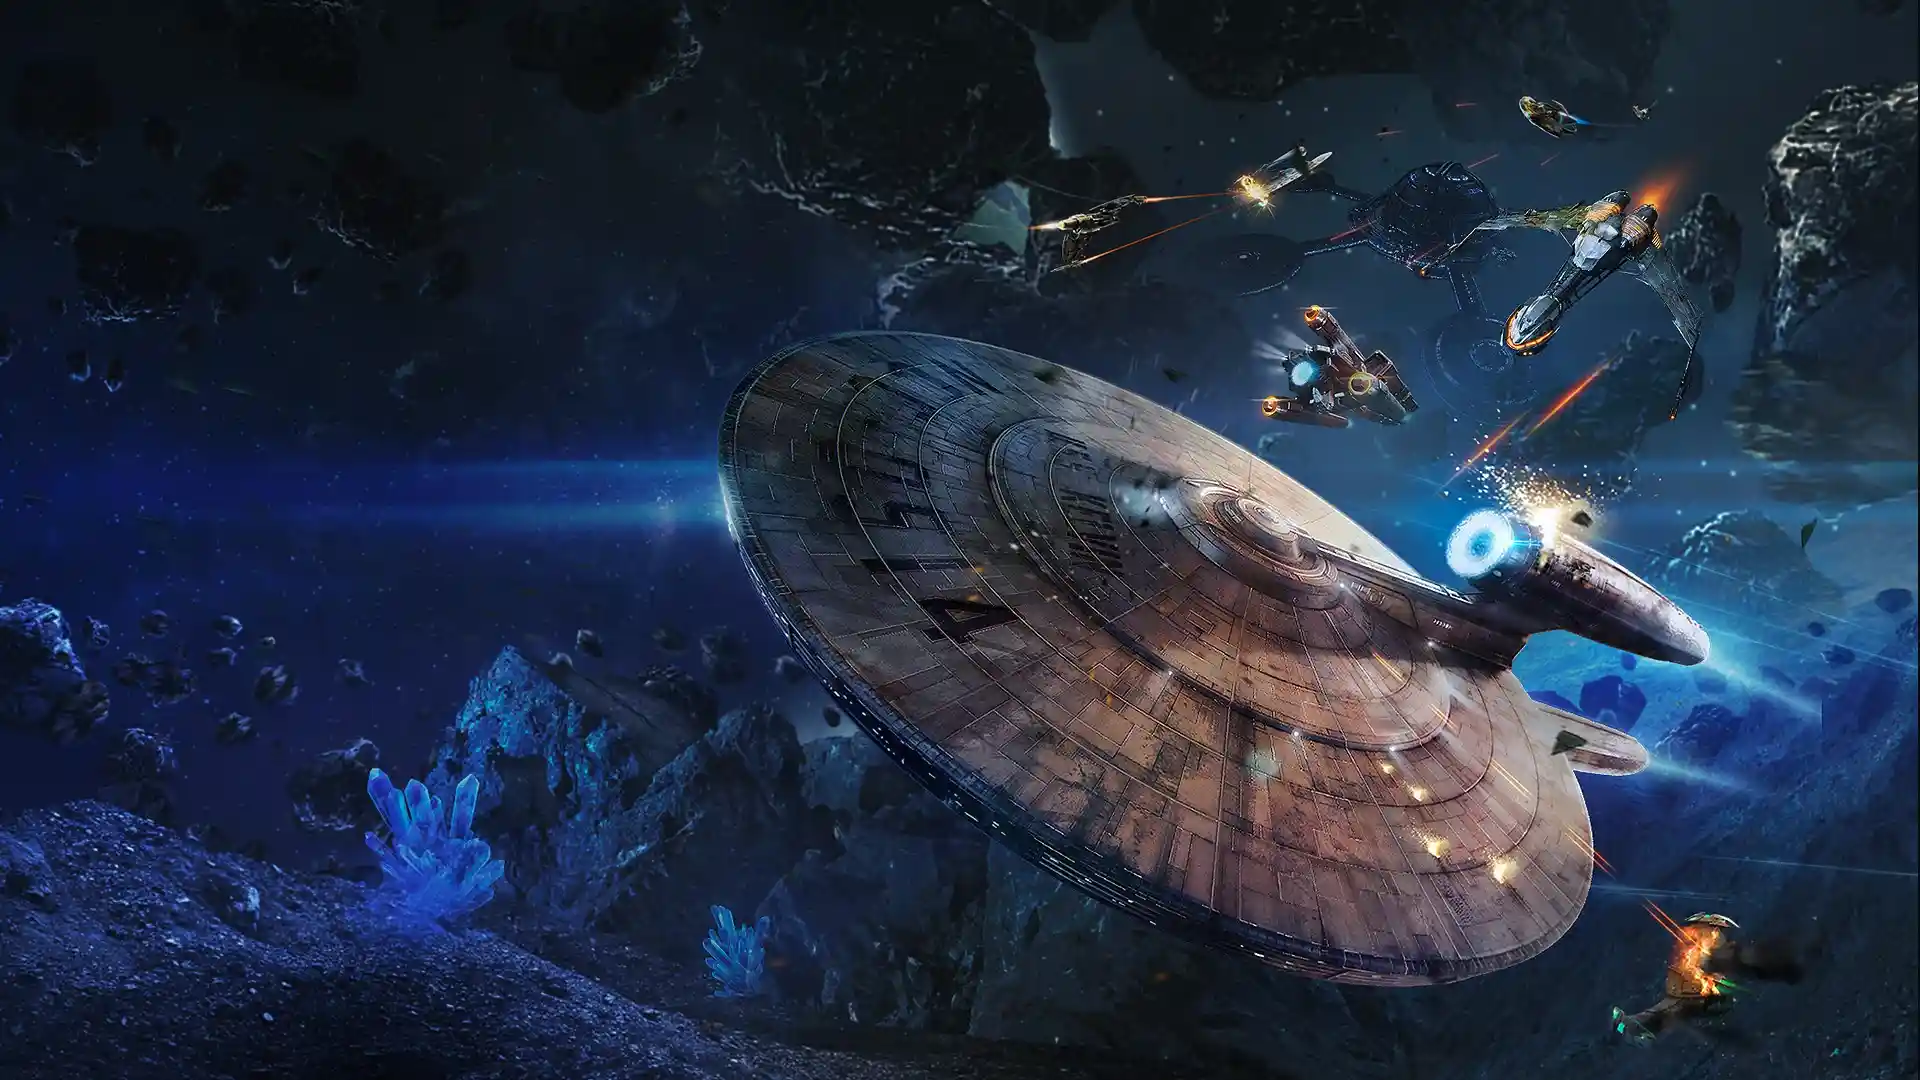

Star Trek Fleet Command hands you a faction, a shipyard, and a research tree in your first session and expects you to make calls on all three before you've fought a single real battle. Most of those early decisions are recoverable. A few aren't, and the difference between a smooth first month and a frustrating one usually comes down to whether you understood the systems below before you started spending resources on autopilot.
Your Faction Decides Ship Access, Not Your Whole Playstyle
Federation, Klingon and Romulan each start you with different ships and different faction-locked officers, and it's tempting to pick based on which crest looks best on your hull. Don't. The bigger thing to understand first is the combat triangle that governs every fight in this game: interceptors beat battleships, battleships beat explorers, and explorers beat interceptors. Your faction doesn't change that triangle — it just changes which ships and officers you get access to first. Pick the faction whose starting kit matches the kind of fighting you want to be doing in month one, not the one whose lore you like most, and don't worry that you're locking yourself out of anything permanent. Faction mostly gates flavor and starting convenience, not your long-term ceiling.
Build One of Each Ship Type Before You Upgrade Any of Them
New players tend to pour resources into upgrading their first ship as far as it'll go, because a bigger number feels like progress. That's backwards. Because of the combat triangle, a single maxed-out battleship is still helpless against the interceptor that counters it — you need a survey ship, an interceptor, an explorer and a battleship in your yard before upgrading any one of them stops being a trap. Get all four ship types built first, even at low tiers, so you always have the right counter available. Only then start pushing tiers on the ones you actually fly most.
Officer Traits Matter More Than Officer Level for Away Missions
Away missions live or die on trait matching, not on how high-level your officer roster is. The traits that show up constantly early on are Pilot, Warrior, Miner, Analytical and Tactician — an officer with the right trait and a mediocre level will out-perform a high-level officer with the wrong one, because trait matches drive your critical success chance directly. Recruit broadly with the tokens missions hand you, and sort your away teams by trait fit before you sort by power score. This is also why chasing a single "best" premium officer pull early is a weaker use of resources than building a roster that covers all five common traits.
Farm Hostiles at the Right Level, Not Just the Highest One You Can Beat
Ship parts — the things that actually let you tier up your hull — drop from hostiles at specific level bands: roughly level 10–20 hostiles for two-star parts, level 21 and up for three-star. New players often grind whatever hostile they can currently beat without checking what tier of part it's actually dropping, which wastes hours farming targets that can't give you the upgrade material you need. Check the part tier a hostile drops before you commit a farming session to it.
Alliance Help Is Free Time — Use It Every Time
Any build or research queue over five minutes can be sped up by allies for free; under five minutes, the game gives you a free speed-up automatically, so there's genuinely no situation where you should let a long queue sit un-boosted. New players who play solo and never post help requests are quietly taking two to three times longer to reach the same building and research levels as players in an active alliance doing identical play. Join a reasonably active alliance in your first session — the exact one matters far less than being in one at all — and get in the habit of requesting help on everything.
Keep a Shield Up When You Log Off With Resources Stockpiled
Shields protect your station while you're away, and they're the reason it's worth checking before you close the app: if you're sitting on a resource stockpile for an upcoming upgrade, an unshielded base is a standing invitation to get raided by the time you're back. It costs nothing to check. Get in the habit of shielding before any extended break, especially once you're holding enough resources to matter to someone else.
Research Priority: Mining and Warp Speed Before Weapons
It's tempting to dump early research into weapons because it feels like it makes you stronger immediately. Resource-gathering and warp speed research pay off faster in practice — they compound every single hour you spend playing, while weapons research only matters in the moments you're actually fighting, which shouldn't be most of week one. Get your mining ships faster and your fleet moving faster before you worry about hitting harder.
What to Ignore Early
Skip PvP outside of unavoidable story content for the first week — you don't yet have the ship roster or officer traits to make those fights worthwhile, and early PvP losses cost more in repair time than they're worth. Also hold off on cosmetic ship skins and chasing specific officer variants until your core roster is settled; the game adds new officers often enough that an early premium pull frequently gets outclassed within a month of pulling it.
Bottom Line
The systems that matter in week one are the ones that compound quietly: ship variety over ship tier, trait matching over officer level, alliance help over solo grinding, and mining research over combat research. Get those four right and the rest of the game gets noticeably easier to catch up on later.
Jump into Star Trek Fleet Command and put this guide to work.
Alex writes practical, beginner-friendly guides for Gamingonix, turning confusing early-game decisions into clear next steps.