

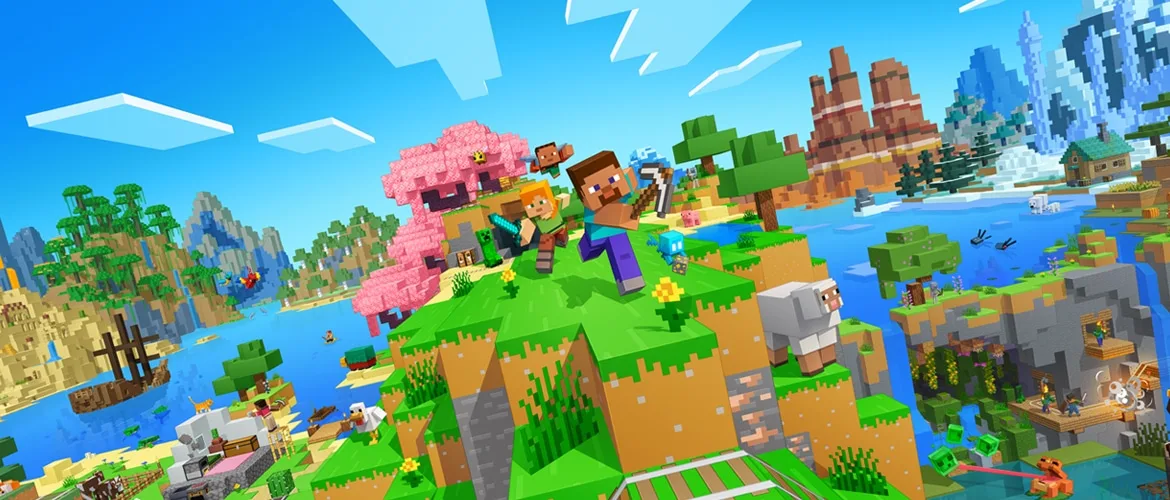

Minecraft gives you a world, a punch, and nothing else — no quest log, no tutorial pop-ups telling you a creeper is about to ruin your day. Most of what kills new players or wastes their first few sessions isn't a lack of skill, it's not knowing a rule that the game never states out loud. These 20 tips cover the actual decision points: what to build in what order, what's worth mining and what isn't yet, and where the game quietly punishes impatience.
Your First Ten Minutes
1. Punch trees first, don't wander. Your spawn point is random and you have no map, so the first priority is wood, not exploration. Punch at least 10–15 logs from nearby trees before you do anything else — that's enough for a crafting table, a handful of tools, and some torches.
2. Build in this order: crafting table, then tools, then shelter. Turn logs into planks, planks into a crafting table, and immediately make a wooden pickaxe and axe. Don't bother with a wooden sword first — you want stone tools as fast as possible, and a wooden pickaxe is the only thing standing between you and stone.
3. Get underground or walled in before the sun sets. Night one is when most new characters die, because hostile mobs — zombies, skeletons, spiders, creepers — only spawn in darkness, and a fresh player has no weapon worth the name yet. A hole dug into a hillside with the entrance sealed by a dirt block works fine as a first shelter; it doesn't need to look good, it needs to have no gaps.
4. Place torches anywhere you don't want mobs spawning. Hostile mobs need a dark spot (light level 0) to spawn in. Torches raise the light level around them enough to stop that, so lighting your shelter, your mining tunnels, and eventually your base perimeter isn't decoration — it's the actual mechanic keeping things from spawning on top of you.
Food and Hunger Will Sneak Up on You
5. Eat before your hunger bar starts depleting your health. Once your hunger drops low enough, you stop regenerating health, and if it hits zero you start losing health outright. Keep a stack of something edible on you at all times — raw meat from early hunts works, but cook it first for more saturation.
6. Cows and sheep are the easiest early food source, not crops. A furnace and a few cow kills will feed you through your first couple of days faster than waiting on a wheat farm to grow. Get a farm going in parallel, but don't depend on it for your first meals.
7. Sprinting drains hunger faster than walking. If you're low on food and need to cover distance, walk instead of holding sprint — it's a small thing, but it buys you real time before you're forced to stop and eat.
Mining Without Losing Everything You're Carrying
8. Never mine straight down. Digging a vertical shaft under your feet is the single most common way new players fall into a cave, into lava, or onto a mob waiting in the dark below with no warning and no way back up. Dig staircases instead, one block at a time, so you can always see and retreat from what you're about to break into.
9. Diamonds are deepest now, not at the old Y-11 sweet spot. Since the Caves & Cliffs generation overhaul, diamond ore is most common in the deepslate layer around Y -58 to Y -59, just above bedrock, not the Y 11 level long-time players may remember from older versions. You'll need an iron pickaxe or better — anything weaker breaks diamond ore without dropping anything.
10. Carry a water bucket before you go deep. A water bucket placed under you cancels fall damage completely, which matters the moment you break into an unexpected cavern below and need to drop without dying. It also puts out fires and can be used to create an escape route past lava.
11. Don't fight lava with your inventory full of irreplaceable items. If you've been mining for a while and you're carrying diamonds, enchanted gear, or anything else you'd hate to lose, back out and store it in a chest before pushing further. Lava doesn't warn you, and a death in deep caves usually means those items are gone for good unless you can get back to the exact spot fast.
Gear Worth Making Before You Go Further
12. A shield blocks almost everything, including a creeper's blast. Craft one the moment you have six planks and an iron ingot — it's one of the cheapest defensive upgrades in the game and it stops arrows, melee hits, and most of an explosion if you're facing the blast when it goes off.
13. Armor durability matters more early than armor enchantments. A full set of iron armor absorbs a meaningful chunk of incoming damage on its own, before you've unlocked enchanting at all. Prioritize getting a full set of any armor over waiting to enchant a partial one.
14. Keep a bed, and sleep in it regularly — not just for the night skip. Sleeping sets your respawn point, so you don't wake up back at world spawn after a death. It also matters because if you go three or more in-game days without sleeping, phantoms start spawning around you at night, and they're a nasty surprise for a player who didn't know that rule existed.
Villages Are Worth More Than Loot
15. Trade with villagers instead of only looting their chests. Villagers will trade emeralds for goods based on their profession — a librarian trades for books and paper, a farmer for crops, a fletcher for arrows — and some of those trades can net you enchanted gear or books far earlier than you could enchant them yourself. Check what profession a villager has (their workstation tells you) before deciding what to bring them.
16. Don't anger the Iron Golem. Most villages have at least one Iron Golem guarding them, and while it won't attack you for no reason, hitting a villager — even by accident in a crowded trading hall — can turn it hostile. It hits hard enough to be a genuine threat in early gear, so be deliberate with your swings around villagers.
Enchanting and Brewing
17. Build your enchanting table next to bookshelves, not alone. An enchanting table needs 4 obsidian, 2 diamonds, and a book to craft, but on its own it only offers low-level enchantments. Surrounding it with 15 bookshelves, with a one-block gap between the shelves and the table, unlocks access to level 30 enchantments — the difference between a mediocre early enchant and genuinely strong gear.
18. A brewing stand needs a trip to the Nether before it's useful. You can build the stand itself from cobblestone and a blaze rod, but blaze rods only drop from blazes, which only spawn in Nether fortresses. If you want potions — fire resistance, healing, night vision — budget a Nether trip into your plans rather than expecting to brew from the Overworld alone.
The Nether Changes the Game's Pace
19. Build your Nether portal frame out of obsidian you make yourself, not mined. Obsidian forms when flowing water touches lava, so pour a water bucket over a lava pool rather than searching for a natural obsidian deposit. You need a minimum of 10 obsidian blocks to form a working portal frame.
20. Don't explore the Nether without fire resistance or solid footing. Ghasts shoot explosive fireballs from range, the terrain is full of lava lakes with no warning ledges, and a single wrong step off a bridge is often fatal. Bring blocks to wall yourself in when a ghast spots you, and treat every ledge as if it might not be solid until you've actually stood on it.
Bottom Line
Almost everything that kills a new Minecraft character traces back to one of three things: going underground unprepared, running out of food at the wrong moment, or walking into the Nether without basic protection. Get your first shelter, a stone pickaxe, and a stocked food supply sorted in session one, and the rest of these tips — mining depth, enchanting setup, villager trading — become things you pick up naturally instead of lessons learned the hard way.

Alex writes practical, beginner-friendly guides for Gamingonix, turning confusing early-game decisions into clear next steps.