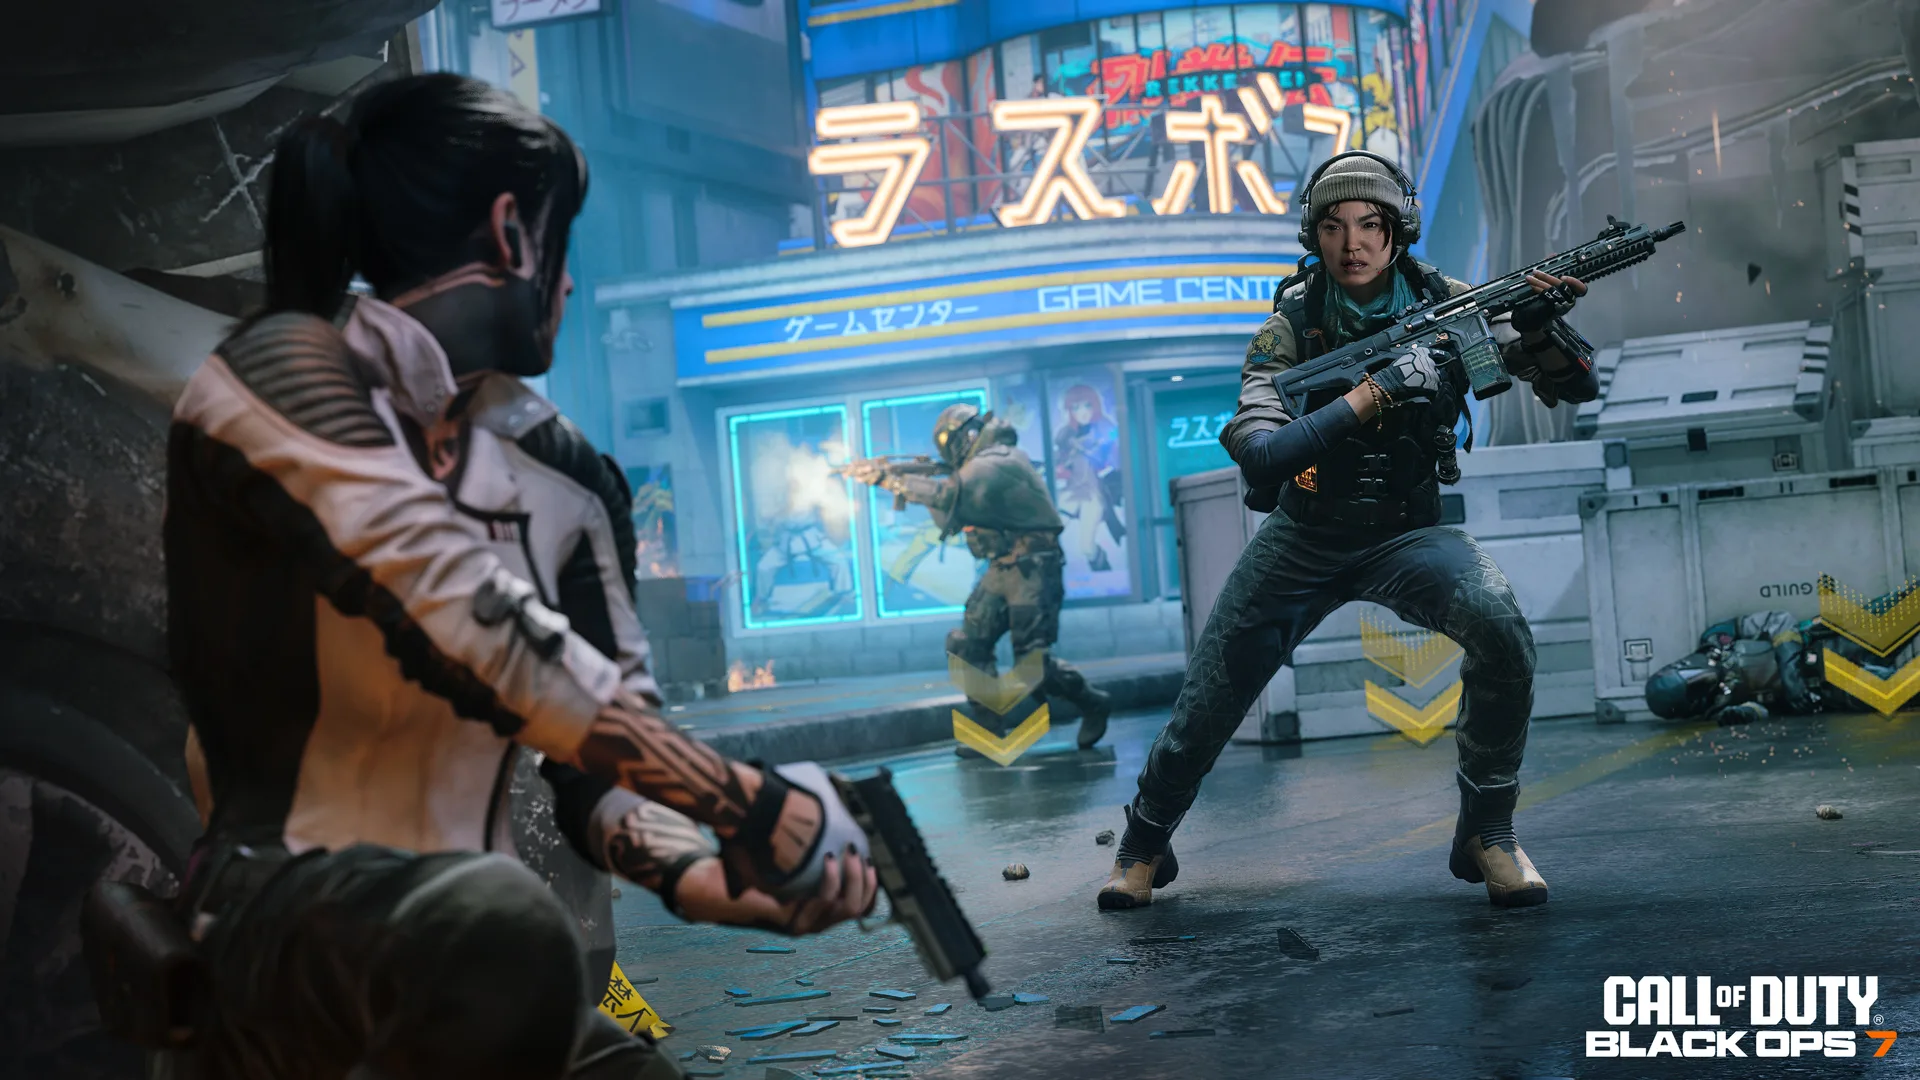

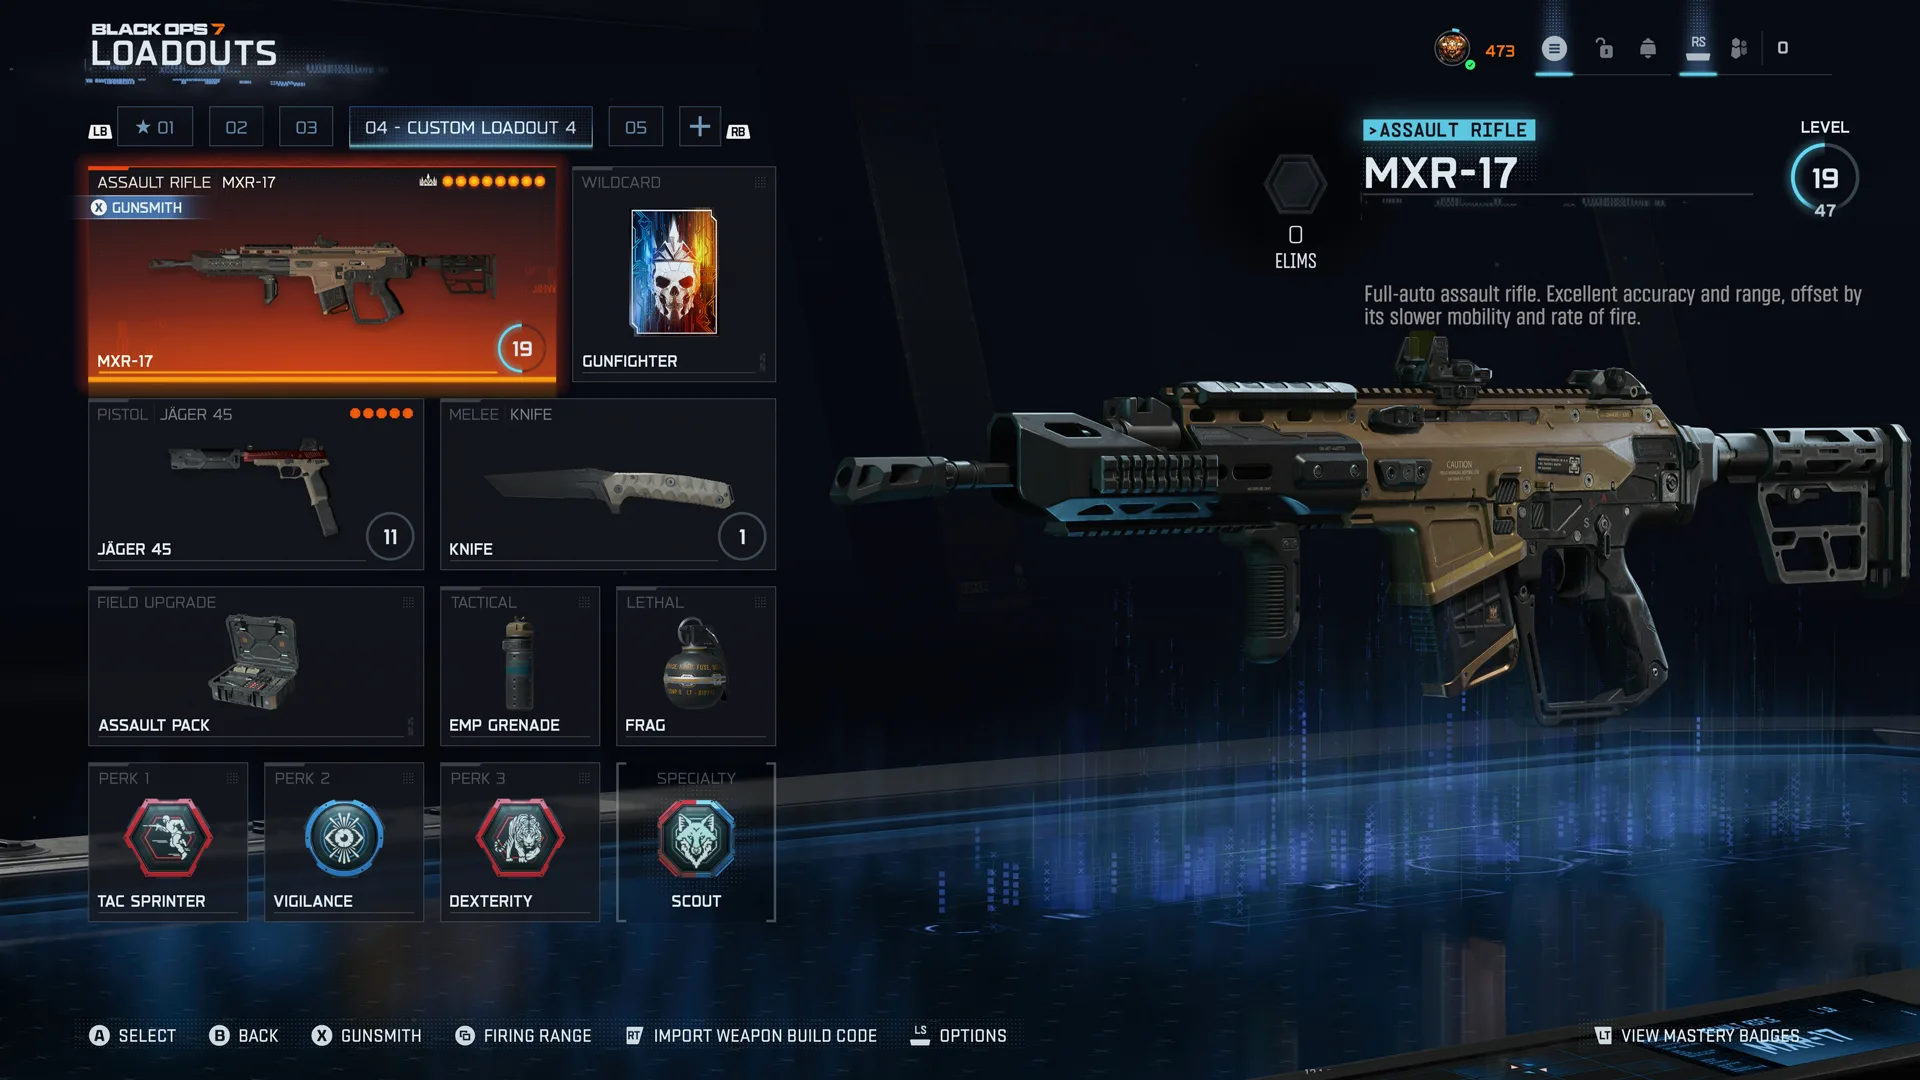

Black Ops 7 gives you 27 perks split across three slots, a Gunsmith deep enough to eat an entire evening, and a meta that's already shifted twice since launch. None of that matters if you don't know which five or six choices actually move the needle. Here are five loadouts built around what's winning gunfights in Season 5, why each one earns its slot, and how to bend them toward your own playstyle instead of copying blind.
How Perks Actually Work Before You Build Anything
Black Ops 7 splits perks into three slots, and each slot is tied to a specialty — Enforcer (offense), Recon (stealth), or Strategist (support) — with nine perks per slot to choose from. You pick one perk per slot, and if you run three perks from the same specialty, you unlock a bonus Combat Specialty effect on top of them. Mixing colors across slots instead unlocks a Hybrid Combat Specialty with a different bonus. That choice — stack one specialty for the bonus, or mix for flexibility — is the first real decision in any loadout, and it's why the builds below specify perks by slot, not just by name.
Wildcards are the other lever worth understanding early. Gunfighter (unlocks at level 29) swaps your five attachment slots for eight, which is the difference between a good gun and a genuinely optimized one. Overkill (level 20) lets you carry two primaries instead of a primary and secondary — useful if you want an SMG and a marksman rifle on the same loadout. Perk Greed (level 33) adds a fourth perk slot. If you've hit those levels, Gunfighter is close to mandatory on any build below; without it, drop to the five attachments listed first.
The All-Rounder: Swordfish A1
The Swordfish A1 marksman rifle is currently the #1 overall weapon in Black Ops 7 multiplayer, and it earns that spot by being genuinely good at every range instead of excelling at one and folding at another. Run the Monolithic Suppressor for sound suppression and a range bump, the 16.5" Gar-xL barrel for damage range, the Trevally Shock Grip as your rear grip to flatten recoil, the Amber-J Stock for handling, and the MFS Penta Burst Mod fire mod, which turns the Swordfish into a five-round burst with a higher fire rate and bigger magazine. That last piece is what makes the gun playable up close instead of just at range.
Perks: Ghost in the Recon slot so Scout Pulse and UAV sweeps don't give away your position while you're moving or on an objective, Stim Shot in your tactical slot to heal out of a bad exchange, and Flak Jacket if you're playing an objective mode where grenade spam is constant. This is the loadout to default to if you're not sure what a map wants yet — it's forgiving at mid-range and doesn't fall apart in a close-quarters ambush the way a full sniper build would.
The Close-Quarters Rusher: Sturmwolf 45
The Sturmwolf 45 sits at #2 in the overall meta, and it's the pick when you already know you're playing a tight map or flanking rather than holding a lane. The build that matters most here is the Sanctum Speed Grip as your rear grip — it's the single attachment that turns this SMG into something you can strafe and slide-cancel around corners with, which is the entire point of running an SMG instead of the Swordfish. Pair it with a suppressor to stay off the minimap while you're closing distance.
Perks: Lightweight or Gung-Ho in the Enforcer/Strategist mix (either keeps your sprint-to-fire time down), Ninja so your footsteps don't announce the flank before you get there, and Stim Shot again as your tactical. Equipment-wise, Semtex as your lethal sticks to whatever cover the enemy is using instead of requiring a clean throw. This loadout is a bad choice on open maps — it's built entirely around getting into range fast, and it has nothing for you if you get caught in a long sightline.
The Ranked Lane-Holder: M15 Mod 0
The M15 Mod 0 is the #1 assault rifle in Ranked Play specifically, which tells you what it's for: holding a lane without your gun bucking every time you pull the trigger past ten meters. The build to run is the VAS 5.56 Suppressor on the muzzle, the EAM Steady-90 Grip as your underbarrel, the Mayday Extended Mag for sustained fights, the Hexcut Grip as your rear grip, and the Telescopic Stock for handling — that's five slots, and if you've got Gunfighter unlocked, add the Lethal Tools ELO optic as your sixth. The muzzle, underbarrel, and stock combination is doing the real work: it cuts recoil and flinch hard enough that you can trade shots at range and still win.
Perks: Ghost again for objective play, Flak Jacket to survive being spammed off a point, and Fast Hands so you're not caught reloading or fumbling a grenade throwback when someone rushes your angle. This is the safer, more "correct" pick over the Swordfish if your matches are decided by controlling one or two chokepoints rather than roaming.
The Season 5 Pick: FG42
The FG42 landed with Season 5 and slotted straight into S-tier as a full-auto assault rifle — it's the newest weapon worth actually building around rather than defaulting to whatever was strong two seasons ago. The attachment priority is straightforward: anything that boosts magazine size, bumps fire rate, and trims recoil, since the gun's baseline is already aggressive and the attachments just remove its one weakness (control past mid-range). AN-94 and DS20 Mirage are the two other assault rifles worth knowing about this season — the AN-94 is an easier, more forgiving alternative if the FG42's recoil pattern doesn't click for you, and the DS20 Mirage got a direct buff at the start of Season 5 that made its ADS speed genuinely competitive.
Perks: this is where Mute Field is worth knowing about — it drops your signature ability but effectively gives you three working perks in one slot's worth of investment, which frees up room elsewhere. Pair it with Stim Shot (with the cleanse-debuff benefit) and Scavenger so you're not starving for ammo on a gun that eats through its mag fast. Lethal equipment: Semtex, for the same sticking reason as the SMG build above.
The Hardcore Build: EGRT-17
Hardcore plays by different rules — no minimap dot for firing, no HUD hand-holding, and a much lower shared health pool across the lobby — and the #1 weapon there, the EGRT-17, reflects that. Because everyone dies faster in Hardcore, you don't need the same recoil-control-heavy attachment stack you'd run in core modes; prioritize a suppressor to stay hidden (since there's no red dot on the map anyway, sound is your main tell) and a barrel or stock that speeds up your first shot, since most Hardcore engagements are decided in under a second. MK35 ISR and X9 Maverick round out the current Hardcore top three if the EGRT-17's handling doesn't suit you.
Perks: Ghost is even more valuable here since Hardcore lobbies punish being caught out of position badly, and Flak Jacket matters more too — with health pools this low, a single grenade tick can be the whole fight. Skip anything built around sustained gunfights; Hardcore rewards the first shot, not the tenth.
Zombies Runs on a Completely Different Meta
If you're splitting time between multiplayer and Zombies, don't carry a multiplayer loadout mentality in with you — the priorities are perks and Pack-a-Punch, not attachments. The current standout is the akimbo 1911 pistols, which Pack-a-Punch into the Mustang & Sally with explosive rounds that clear entire hordes in a swing, and the VST currently tops the general Zombies weapon meta if you want something that carries you solo through the early rounds before you've upgraded anything. The AK-27 is worth grabbing if you find its Battle-Scar Conversion — it turns into one of the hardest-hitting assault rifles in the mode.
Perk buy order matters more than any weapon choice: get Mule Kick first specifically for its Kick Back augment, which discounts every other perk you buy afterward, then go Jugger-Nog, Speed Cola, Stamin-Up, and Quick Revive before anything else — those four keep you alive and moving. After that, layer in Double Tap, PhD Flopper, Elemental Pop, Vulture Aid, Death Perception, Deadshot Daiquiri, and save Melee Macchiato for last since it's the least impactful early. For your ammo mod, Dead Wire with the Lightning Strike major augment is the current pick for pushing high rounds — it chains crowd control in a way the other mods don't match.
Bottom Line
Start with the Swordfish A1 if you're not sure what a map or mode wants yet — it's the least punishing choice while you're learning Black Ops 7's attachment system. Swap to the Sturmwolf 45 the moment a map turns into close-quarters chaos, and to the M15 Mod 0 the moment you're holding one lane in Ranked instead of roaming. Unlock Gunfighter as early as you can; three extra attachment slots change every build on this list more than any single attachment choice does. And if you're heading into Zombies, leave the attachment-optimizing mindset at the multiplayer menu — buy Mule Kick first, and let the perk order do the work your Gunsmith build would in core modes.
Alex writes practical, beginner-friendly guides for Gamingonix, turning confusing early-game decisions into clear next steps.