
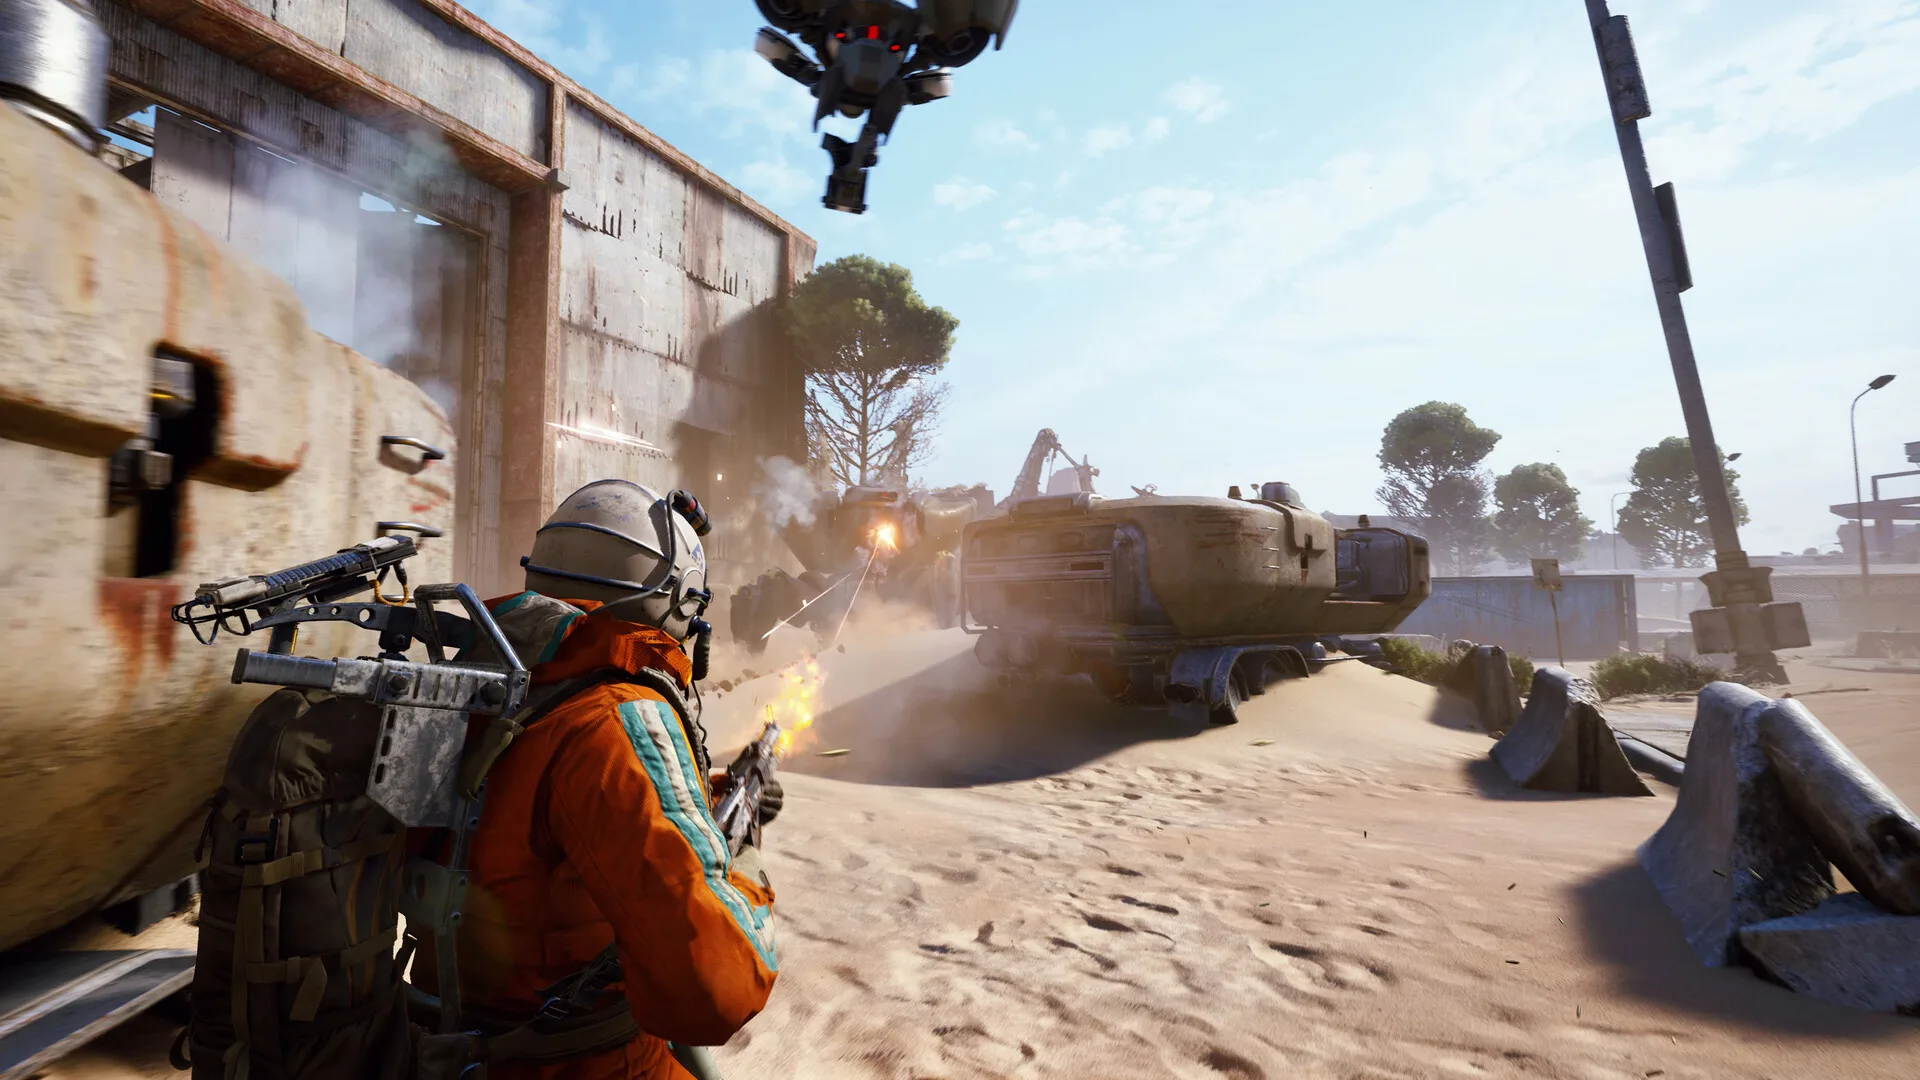

ARC Raiders doesn't have a loadout screen that tells you what's good — it has a crafting bench, a stash full of parts you're afraid to spend, and other raiders who've already figured out the meta shooting at you with it. The honest answer to "what's the best gun" changes depending on whether you're fighting a squad or a Bombardier, and whether you're okay losing what's in your hands if the raid goes wrong. Here's what's actually worth building toward right now, and which loadout fits the raid you're about to run.
Start on the Rattler or Kettle, and Don't Feel Bad About It
Both the Rattler and Kettle are Common assault rifles that sit on the cheapest tier of the Gunsmith bench, which means they're craftable from day one and painless to lose. The Rattler is fully automatic with a 10-round mag — the more forgiving pick if you want sustained fire against both ARCs and raiders while you're still learning recoil control. The Kettle is semi-auto and runs on Light Ammo, which is the cheapest ammo type to keep stocked, and it rewards precision over spray. Neither gun tops a tier list, and that's the point: you want something replaceable in your hands for every raid where you're still learning a map or a fight, not something that ruins your run when a Leaper gets the jump on you.
The Ferro Is the Best Value Weapon in the Game, Full Stop
If there's one gun worth prioritizing the moment you can craft it, it's the Ferro — a break-action battle rifle that costs next to nothing (a couple of Rubber Parts and a handful of Metal Parts) and still hits with armor penetration that competes with weapons ten times the price. It's slow — break-action means you're reloading every shot or two — but the damage per hit and the long-range accuracy make it the best crafted-budget option for picking off both raiders and ARC weak points from range. Keep one in your stash even after you've got better gear; it's cheap enough that losing it on a bad raid barely dents your resources.
The Anvil Is the Hand Cannon Worth Building Toward
The Anvil is a single-action hand cannon and the closest thing ARC Raiders has to a consensus best-in-slot weapon — big single-shot damage, real armor penetration against ARC machines, and a headshot that two-taps most raiders. It runs on Heavy Ammo, which is the expensive, slow-regenerating resource in the game, so it's not something to spray through on every engagement. Treat it as your answer when a fight actually matters: a squad you can't avoid, or an ARC that's eating your Light Ammo without flinching. The Renegade, a lever-action battle rifle with a 2.25x headshot multiplier, is the other heavy-hitter worth knowing — its damage lead is big enough that a three-hit kill with one miss still beats most assault rifles' time-to-kill, which makes it more forgiving than its slow fire rate suggests.
Pick Your Shotgun Based on the Fight, Not the Rarity
The Vulcano is the highest raw-DPS weapon in the game and the pick if you're expecting close-quarters chaos against ARCs or a raider who's already in your face — it's devastating, but it burns through Shotgun Ammo fast. The Il Toro trades a little of that ceiling for more control, which makes it the better choice clearing a dark corridor against a squad rather than one ARC. If you're running the Dolabra energy shotgun, know what you're getting: it fires a wide cone for crowds or a focused beam in ADS for single targets, and it's still considered the strongest shotgun for ARC-farming specifically because that flexibility matters more against mixed groups of machines than it does against a single raider.
Stitcher or Bobcat for Your Close-Range SMG
The Stitcher is a Common SMG that punches well above its rarity — low fire rate compared to other SMGs, but its effective DPS once you factor in reload time actually beats flashier options, and it can drop a target in one magazine where a faster-firing gun falls short against the same shield. Losing one barely registers against your resources, which makes it the SMG to default to early. The Bobcat is the higher-fire-rate alternative with strong hipfire accuracy — pick it over the Stitcher specifically when you want to dictate the tempo of a close fight rather than win a prolonged one. Both run Light Ammo, so neither is expensive to keep feeding.
Attachments: Fix Stability Before You Chase a Bigger Magazine
Every weapon mod is crafted at your Gunsmith bench in Tier I, II, and III versions — Tier I is available immediately with common parts, but Tier II and III need a blueprint found in the world before you can craft them at all, so don't assume more bench levels alone unlocks them. The attachment that moves the needle hardest is the Stable Stock: at Tier III it cuts both recoil and dispersion recovery by half, which is the single biggest stability jump available on most guns. After that, prioritize in this order: take the bigger magazine whenever it's available (there's no real downside), then a stock if your gun fires in bursts or pauses between shots, then a Compensator if your problem is spray on a full-auto weapon or a Muzzle Brake if the problem is raw kick, and finish with a grip to clean up whichever recoil axis is still giving you trouble. Don't spread your early materials thin across four guns — fully mod one weapon you're actually running before you start a second.
Know Your Ammo Economy Before You Commit to a Weapon
ARC Raiders splits ammo into Light, Medium, Heavy, Shotgun, Launcher, and Energy Clips, and the type a gun eats matters as much as the gun itself. Light Ammo (Kettle, Stitcher, Bobcat) is cheap and common but has weak armor penetration — great against unarmored raiders, mediocre against ARC machines. Medium Ammo (Rattler, Renegade, Osprey, Tempest) is the sweet spot most of the strongest all-rounders run on, striking a real balance between cost and stopping power. Heavy Ammo (Ferro, Anvil, Bettina) hits hardest against both raiders and ARCs but is expensive, slow to stock, and comes with smaller magazines and longer reloads — don't build a loadout around a Heavy Ammo gun as your only weapon unless you've got the stash to support it, or you'll find yourself empty mid-raid with nothing to fall back on.
Build 1: The Aggressive PvP Loadout
Run the Bobcat as your primary for close engagements and the Anvil as your sidearm for the headshot that ends a fight the Bobcat couldn't close fast enough. Equip a Combat-class Augment — the Flanking variant specifically speeds up how fast you draw pistols and hand cannons, which matters when you're switching from the Bobcat to the Anvil mid-fight. Prioritize a light or medium shield over a heavy one; you're trying to win the engagement by being faster into position, not by tanking damage, and a heavy shield's movement penalty works against that plan. Keep a Stim or quick-heal in a fast-access slot, because this loadout wins by taking fights other raiders would rather avoid, and that means taking some damage back.
Build 2: The Stealth Extraction Loadout
This build assumes you'd rather not fight at all. Carry the Ferro as your one real weapon — its accuracy means you can answer a fight from range without closing distance, and losing it if things go wrong doesn't hurt. Equip a Looting-class Augment for the extra backpack space and safe pockets, since the entire point of this raid is coming home with loot, not kills. Carry a Photoelectric Cloak as your panic button for a hot extraction point, and a Remote Raider Flare to pull attention away from your actual route if an ARC or a squad is between you and the door. Skip the heavy shield here too — a Light shield keeps your movement and noise footprint down, which is the whole game plan when your win condition is not being seen in the first place.
Build 3: The ARC-Farming Loadout
If you're grinding ARC machines for materials and blueprints rather than hunting raiders, build around sustained damage and weak-point accuracy instead of burst. The Dolabra's flexible cone-or-beam firing mode handles mixed groups of ARCs better than a single-target shotgun, and the Torrente LMG is worth running alongside it specifically because its large magazine (scaling up to 90 rounds by tier) means you're not reloading mid-fight against a Bombardier or a pack of Wasps. Run a Tactical-class Augment with its integrated shield recharger that works while you're still moving — ARC fights are rarely one-and-done, and recharging on the move keeps you from having to break line of sight to reset your shield. Keep Medium Ammo stocked over Heavy; you'll be shooting a lot more rounds per raid here than in a PvP-focused build, and Medium's lower cost matters more than its slightly weaker penetration when you're farming volume.
Bottom Line
Learn on the Rattler or Kettle, graduate to the Ferro the moment you can afford it since it's the best value weapon in the game regardless of playstyle, and save the Anvil or Renegade for fights you actually want to win rather than every engagement. Fix a gun's stability with a Stable Stock before you chase a bigger magazine, and match your ammo type to your raid's actual plan — Light for cheap PvP pressure, Medium for all-round value, Heavy only when your stash can support it. Past that, the three builds above cover the real decision you're making every time you load in: fight, sneak, or farm. Pick based on what you're actually trying to bring home, not which gun looked best in a tier list.

Alex writes practical, beginner-friendly guides for Gamingonix, turning confusing early-game decisions into clear next steps.